Appwrite's CSV Import feature allows you to create multiple rows in a table by uploading a single CSV file. This is especially useful for importing existing data, seeding test environments, or migrating from other systems.
This feature is available in both Appwrite Cloud and the self-hosted version.
Prepare your table
To get started, create a table in your database and define its columns. Your CSV file must match the structure of this table.
Each column in the CSV should map to an column key in your table, and each row should represent a new row.
Good to know
You can optionally include the $id column to define custom row IDs. If not provided, Appwrite will generate unique IDs for each row automatically.
You can also optionally include $createdAt and $updatedAt columns to set custom timestamps for imported documents. If omitted, Appwrite sets these automatically during import. For example, if your table has the following required attributes:
title(string)author(string)year(integer)available(boolean)
A valid CSV file might look like:
$id,$createdAt,$updatedAt,title,author,year,available
f3k91x8b2q,2025-08-10T12:34:56.000Z,2025-08-10T12:34:56.000Z,Harry Potter and the Sorcerer's Stone,J.K. Rowling,1997,true
mz7lq3dp5c,2025-08-11T09:15:00.000Z,2025-08-11T10:00:00.000Z,The Fellowship of the Ring,J.R.R. Tolkien,1954,true
x0v4p8ncq2,2025-08-12T08:00:00.000Z,2025-08-12T08:30:00.000Z,To Kill a Mockingbird,Harper Lee,1960,false
Note
All required columns must be present in the CSV. Each row is validated before being imported.
Timestamps format
$createdAt and $updatedAt must be valid ISO 8601 date-time strings, for example: 2025-08-10T12:34:56.000Z.
Import rows from the Console
To import rows using the Appwrite Console:
- Go to your project -> Databases
- Navigate to your target Table
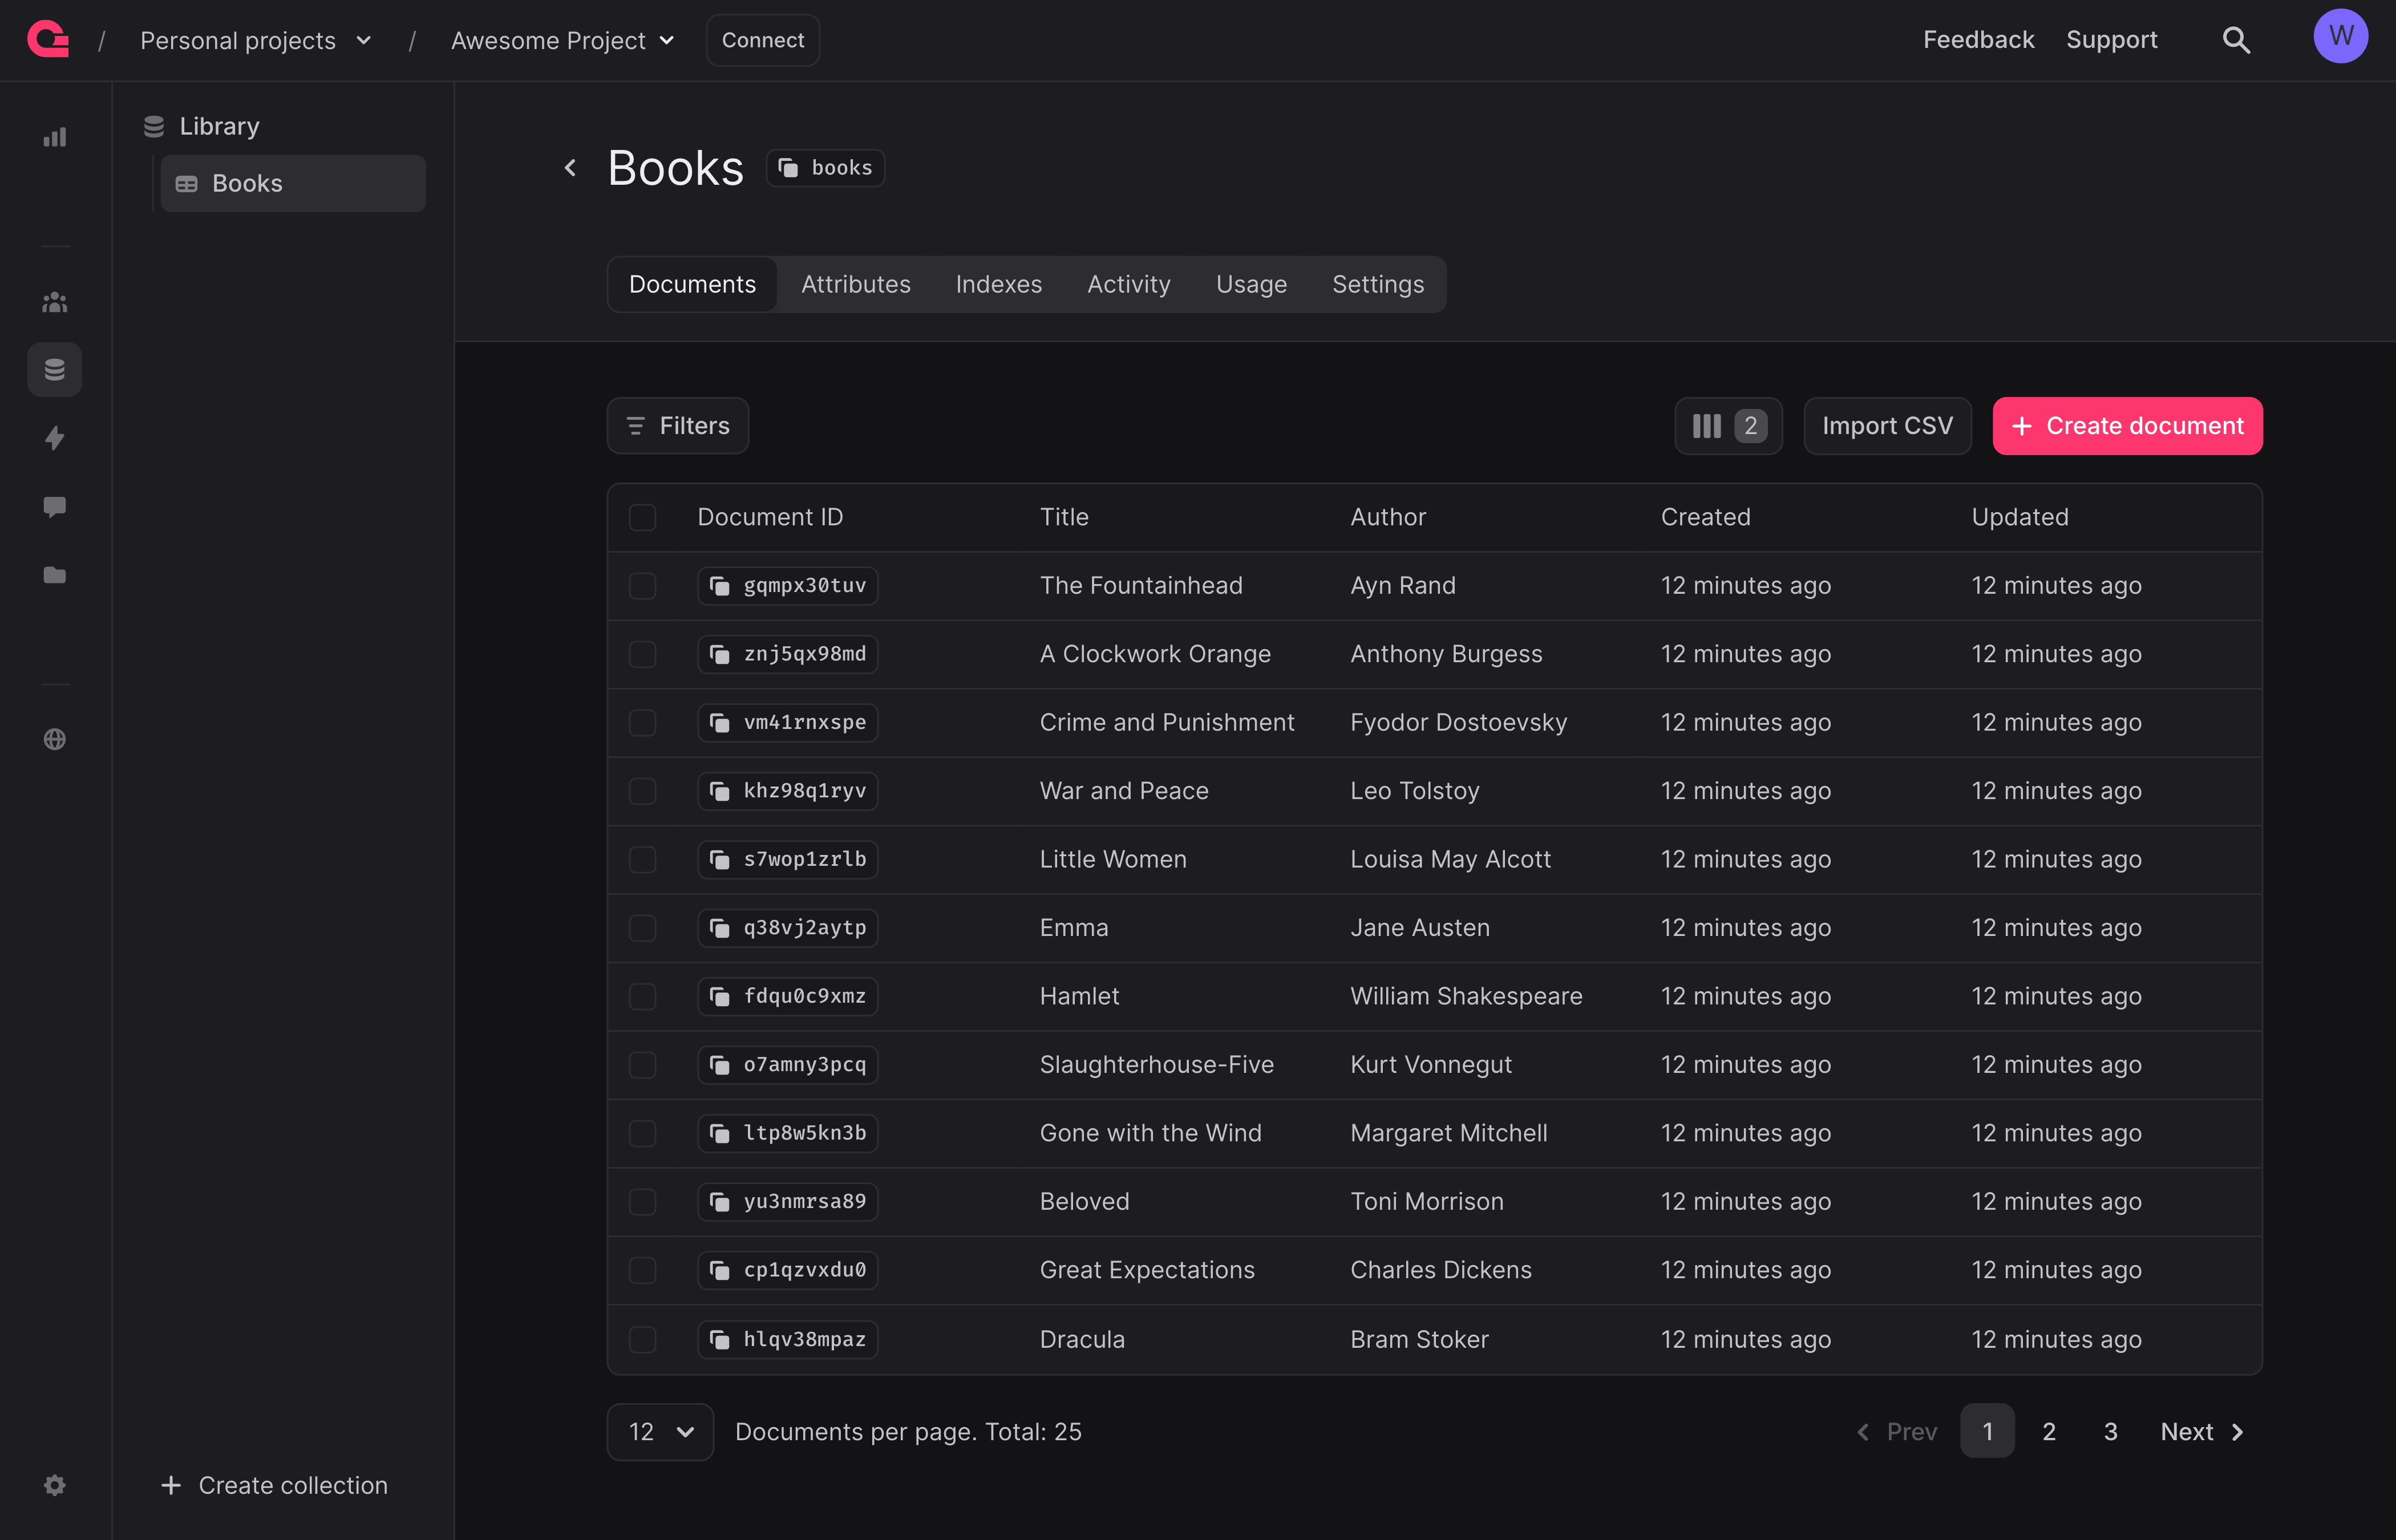
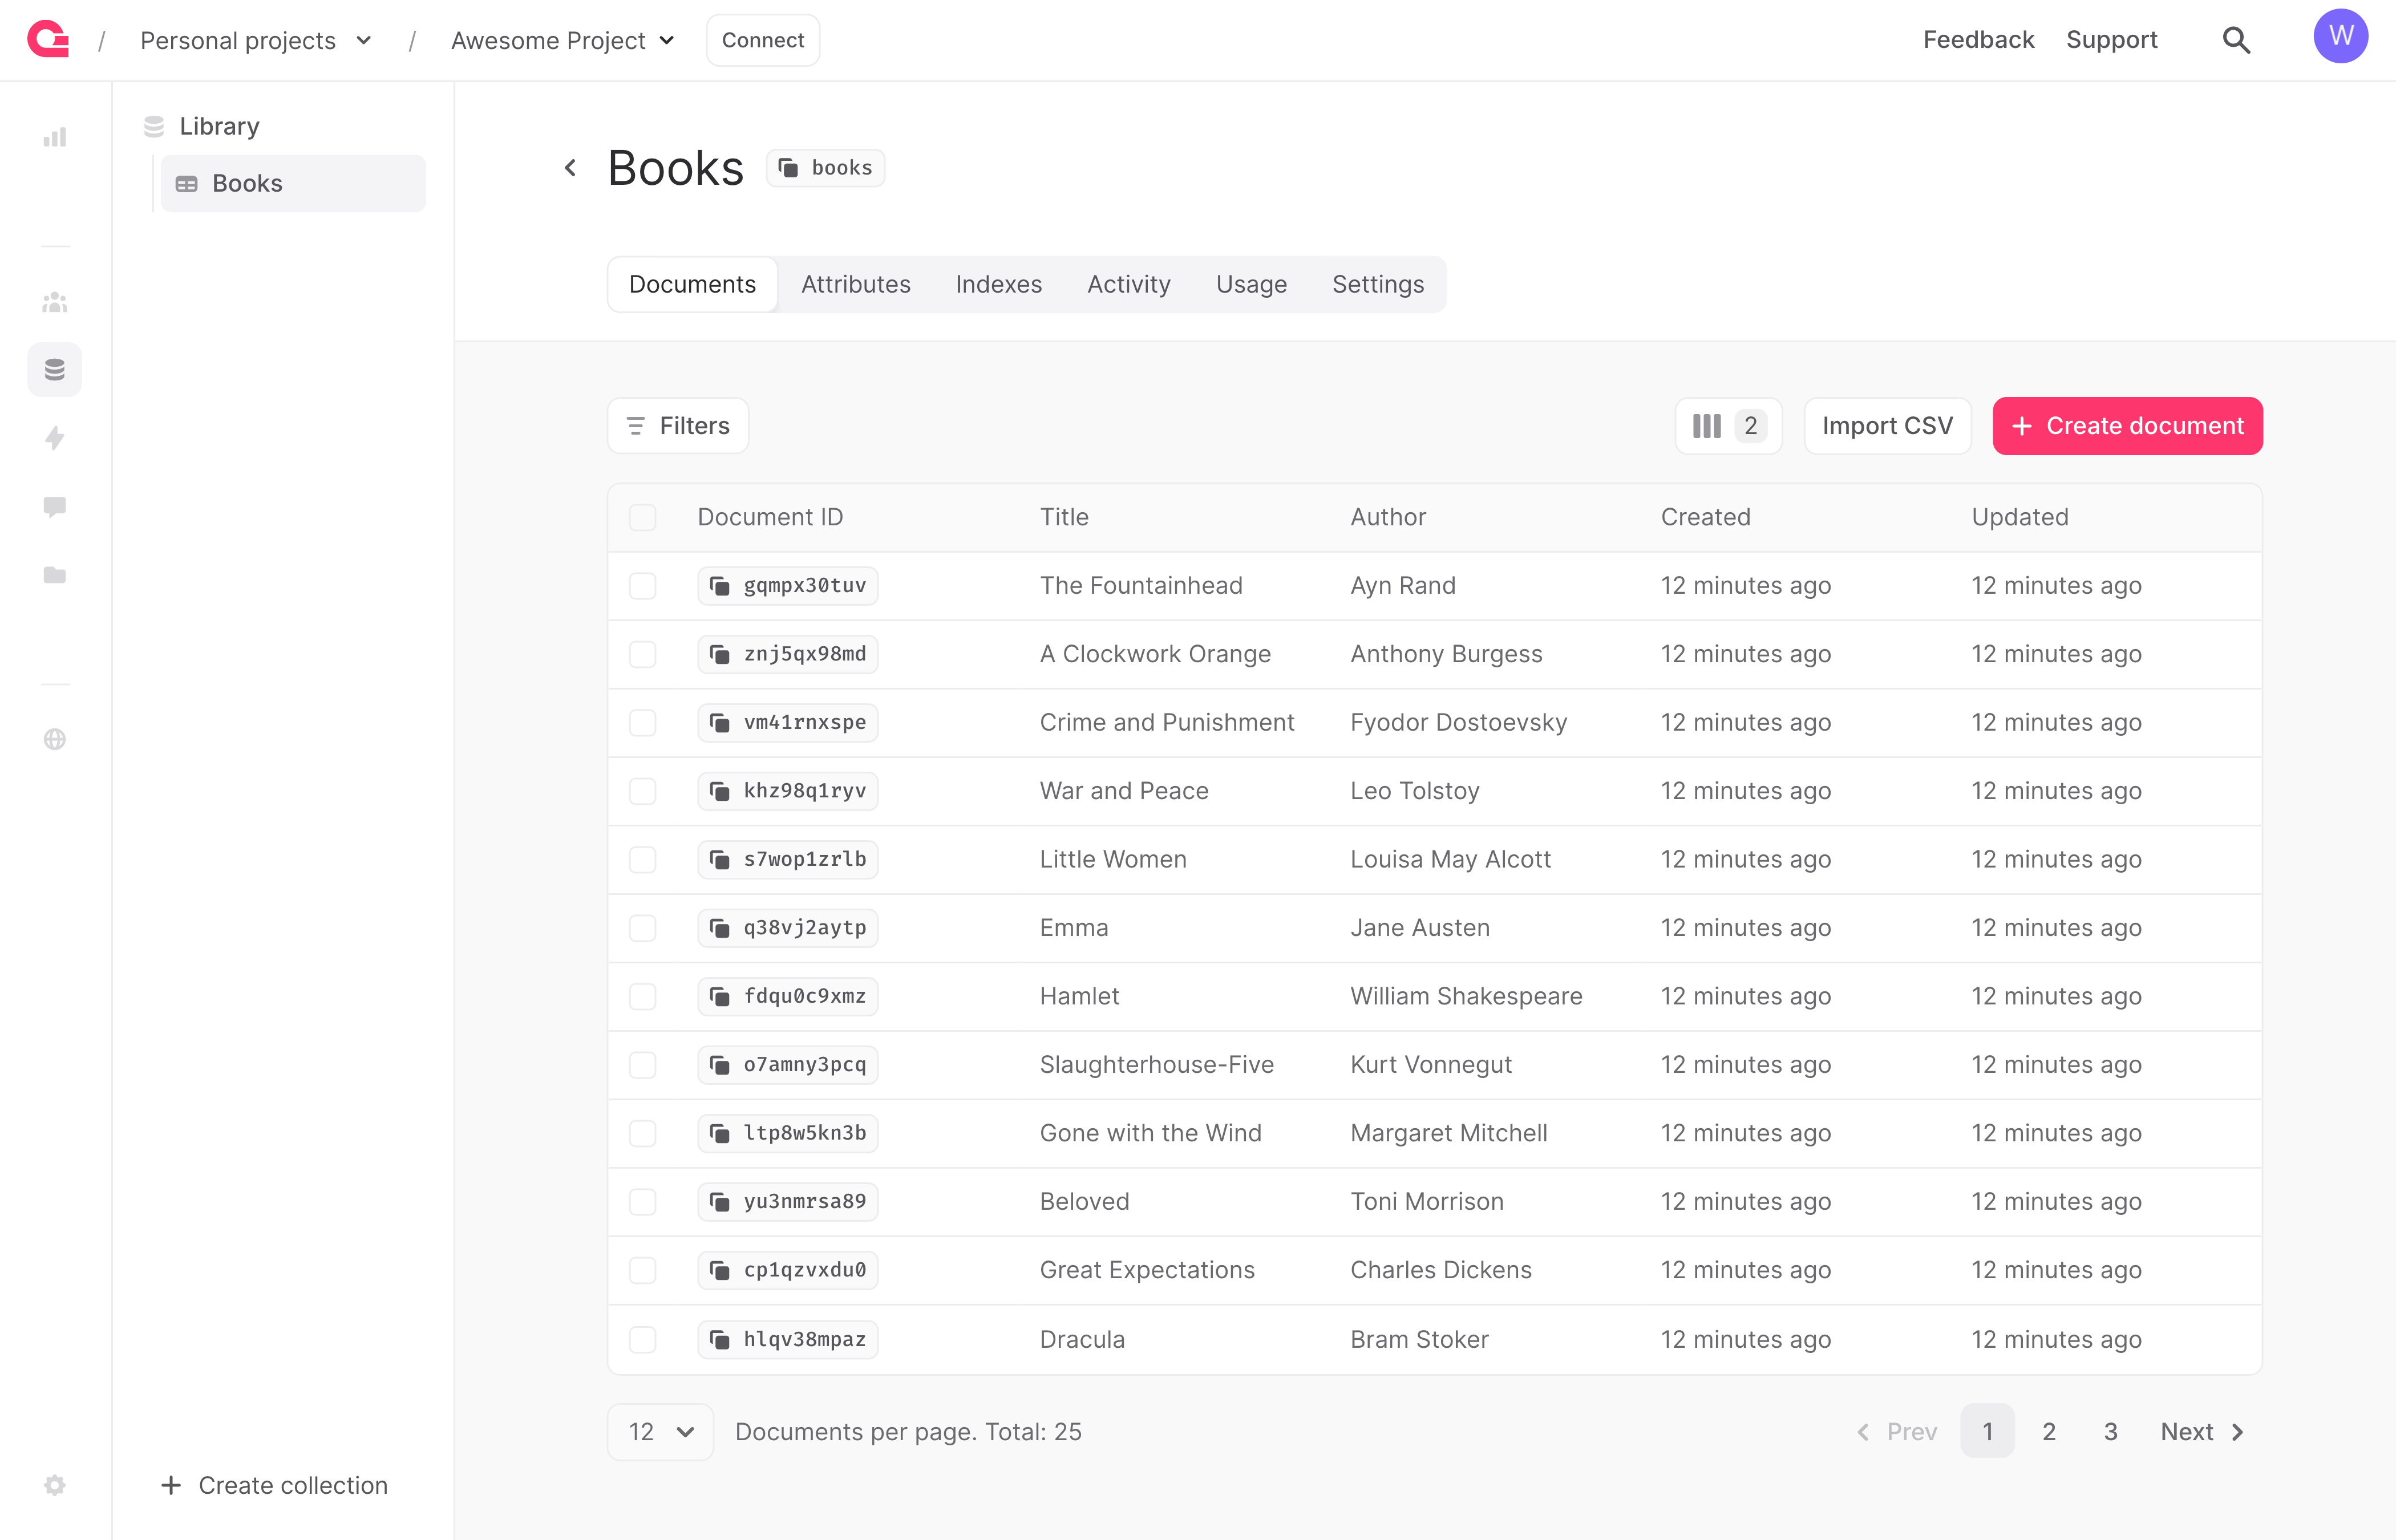
- Click on the Import CSV button in the action area
- Upload a new CSV file or choose an existing file from your Storage bucket
CSV imports run as background tasks. The Console displays a floating progress bar while the import is active.